How to Create an Expense Report
Navigating to Reports
- From the Dashboard, click on the Reports option in the navigation bar on the top of the screen.
Creating an Expense Report
Click on the New Report button to create a Report.
Adding Expenses to the Report
While creating a Report, existing expenses as well as new expenses could be added by clicking on the Add Expenses button on the bottom right of the screen.
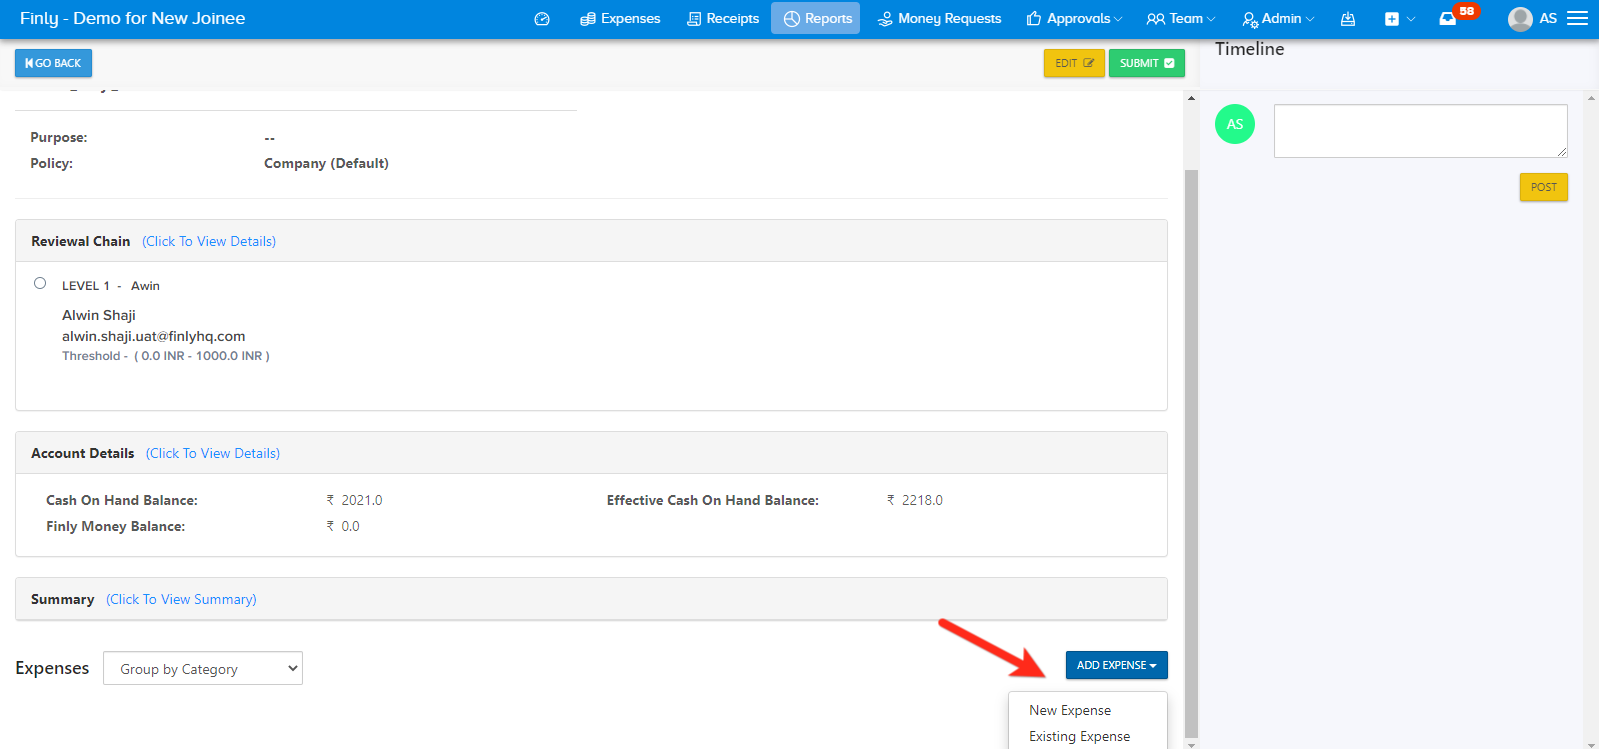
Adding Existing Expenses to the Report
Click on Existing Expense from the Add Expense drop down menu.
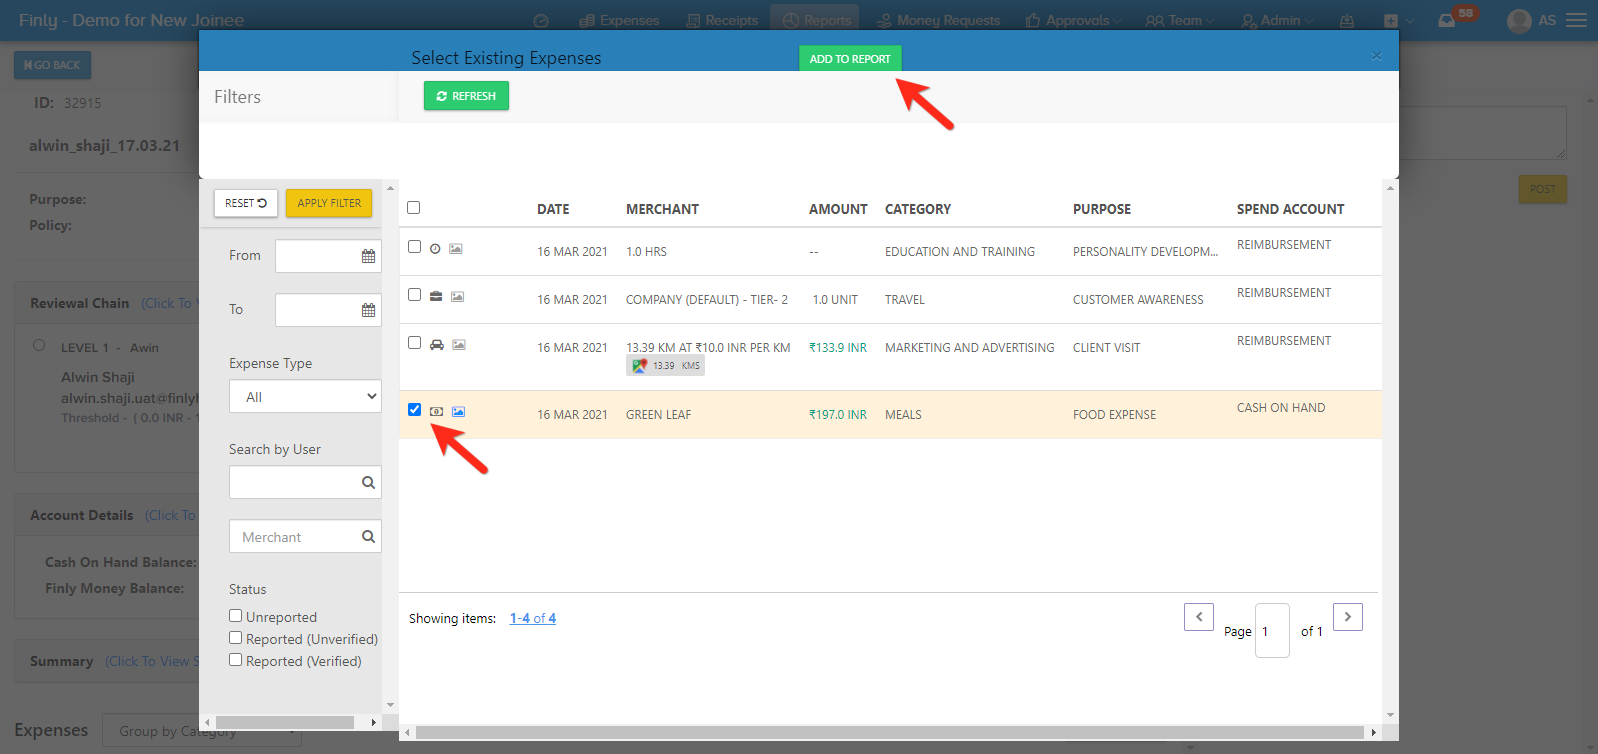
From the list of existing expenses, choose the required expense and click on the Add to Report button.
Adding a New Cash Expense
After clicking on the New Expenses from the Add Expenses drop down menu, choose the Cash tab in the New Expense screen.
Fill in the Amount, Date, Spend Account, Purpose, Category and Merchant. Also, attach the Receipt (if any).
Click on the Save Expense button to save the expense.
Upon successful addition of the expense, a pop-up stating Expense Created will be displayed on the bottom left of the screen.
Adding a New Distance Expense
After clicking on the New Expenses from the Add Expenses drop down menu, choose the Distance tab in the New Expense screen.
Fill in the Vehicle Type, Source, Destination, Date, Category, Purpose and Spend Account. Also, attach the Receipt (if any).
In Distance Expense Type, Distance and Amount will be calculated based on the Source and Destination points filled in while creating the expense.
In Odometer Expense Type, Distance and Amount will be calculated based on the Start Reading and End Reading filled in while creating the expense.
Click on the Save Expense button to save the expense.
Upon successful addition of the expense, a pop-up stating Expense Created will be displayed on the bottom left of the screen.
Submitting the Report
After adding the expenses to the report, click on the Submit button on the top to submit the report.
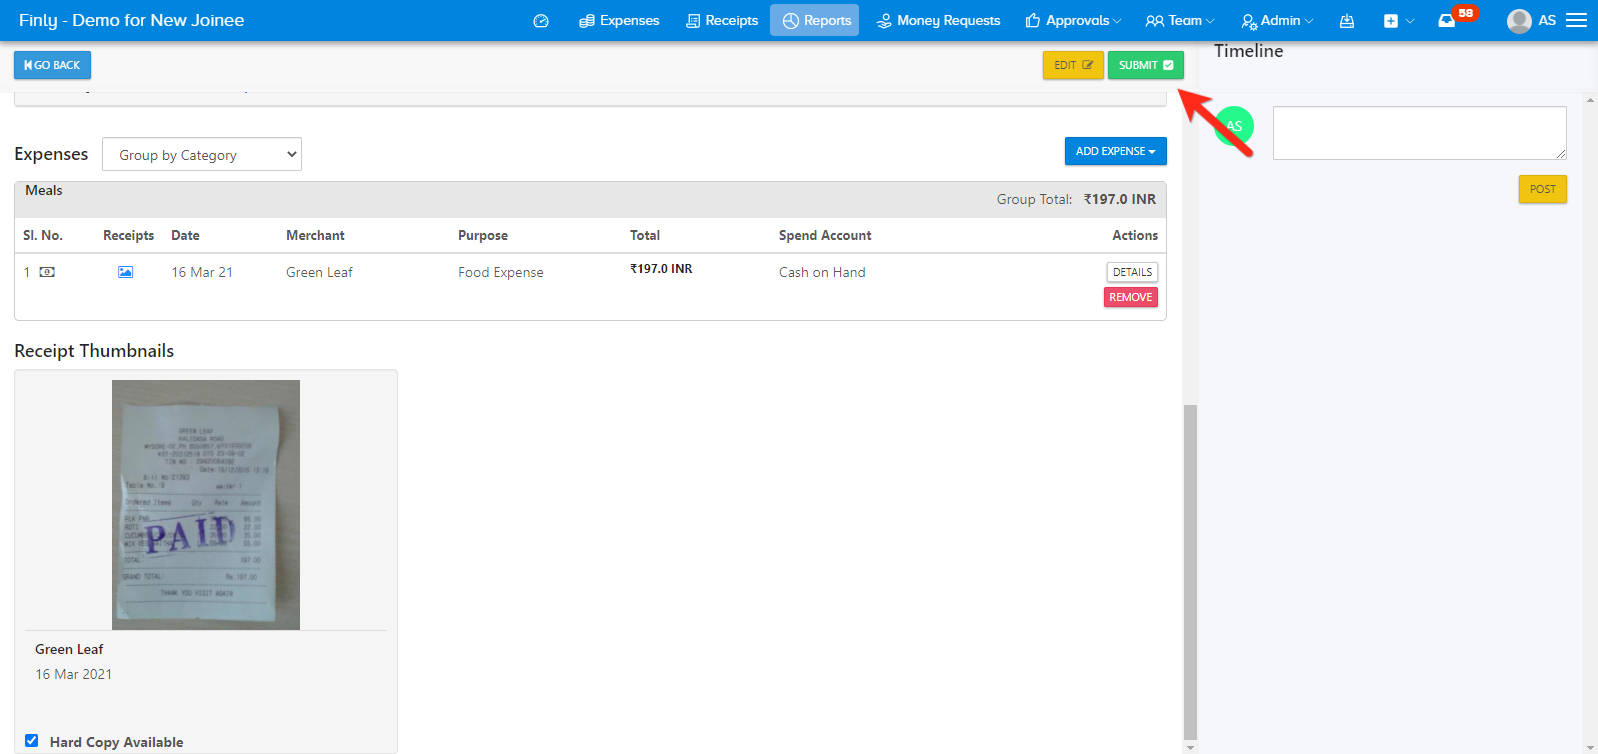
- Confirm the submission by clicking on Confirm & Submit button.
- Upon successful submission of the report, a pop-up stating Report Submitted will be displayed on the bottom left of the screen.
Related Articles
How to add Expense Rules
Navigating to the Expense Rules Expense Rules can be set only by the Admin Users. Expense Rules can be set by the admin users to regulate the expense submissions by users against the requirements such as supporting bills or notes. It can be also ...
How to Create a Money Request
Navigating to Money Request From the Dashboard, click on the Money Request option in the navigation bar on the top of the screen. Creating a Money Request Click on the New Request button to create a Report. After filling in the details such as Name, ...
How to Add an Expense
Navigating to Expenses From the Dashboard, click on the Expenses option in the navigation bar on the top of the screen. Adding an Expense Click on the New Expenses button to add your expenses. Adding a Cash Expense Choose the Cash tab in the New ...
How to Approve a Report by Taking Control
Navigating to the Admin View The Admin can Take Control to Approve, Reject or Edit any reports submitted within the company. Choose the Admin option from the Navigation bar at the top of the screen and select Reports from the drop-down menu. Taking ...
How to add Budget Rules
Navigating to the Budget Rules Budget Rules can be set only by the Admin Users. Budget Rules can be set by admin users to monitor and limit expenses submitted by users against the required criteria's such as types of expenses, categories, ...